
Your cart is currently empty!
Effortless Elegance: Create Stunning Wedding and Prom Updo Styles

Want a hairstyle that’s both elegant and easy to create? You’re in the right place. I’m excited to share a simple yet unique updo that’s perfect for special occasions. Whether it’s a wedding, prom, or a fancy night out, this style will turn heads.
Ready to learn how to create this beautiful look? Let’s get started!
What You’ll Need
Before you begin, gather these essential tools:
- Brush (for detangling)
- Hair clips
- Bobby pins
- Hair pins
- Rat tail comb (for smoothing and precise styling)
- Paul Mitchell Reworks Texture Cream (or a similar product for flexible hold and shine)
- Optional: Hair decorations for added sparkle
- Optional: Curling iron to create soft curls
Sectioning the Hair: Your Foundation
Why is sectioning important? It helps you stay organized and create a polished updo. Let’s break it down:
Step 1: The First Section
Part the hair behind one ear. Clip this section out of the way. This keeps things neat as you work. Remember to brush through the hair to remove any tangles.
Step 2: Creating the Triangular Side Part
Next, create a triangle-shaped part on the side of your head. This section will frame your face beautifully. Clip the remaining hair back so it doesn’t get in your way. Make sure your triangle is clean and defined.
Step 3: Isolating the Middle Section
Leave the middle section of your hair free. This section will add volume and texture to the final updo.
Step 4: The Final Front Section
Finally, release the front section of your hair. Now you’re ready to style each section.
Crafting the Knotted Side Section: The Heart of the Style
This is where the fun begins! Let’s create those elegant knots.
Step 1: Dividing and Twisting
Divide the triangular section into two equal strands. Twist these strands together tightly.
Step 2: Creating the Knots
Tie the twisted strands into a simple knot. Continue twisting the strands and tying more knots down the length of the hair. Want a softer look? Loosen the knots a little as you go.
Step 3: Securing the Knots
Use bobby pins to secure each knot to your head. This will keep the style in place. Add hair pins for extra hold.
Step 4: Creative Variations
Want to personalize the look? Leave a few strands out for a more relaxed vibe. Or, use a curling iron to add soft spiral curls to those loose pieces.
Styling the Middle Section: Adding Volume and Texture
Now, let’s focus on the middle section.
Step 1: Preparing the Hair
Brush out the middle section. Make sure it’s smooth and free of tangles.
Step 2: Applying Texture Cream
Take a small amount of Paul Mitchell Reworks Texture Cream or (something similar) Ultabeauty.com. Why use a texture cream? It adds shine and provides hold without making your hair stiff. Work the cream evenly through your hair.
Step 3: Creating Knots or Twists
Now you have a few options:
- Pin the section up for a simple look.
- Twist and turn the hair to create a more intricate design.
Step 4: Securing the Style
Use hair pins and bobby pins to secure your chosen style. A rat tail comb can help you tuck in any loose ends.
Step 5: Adding Decorations (Optional)

Want to dress it up? Add some hair accessories! This is a great way to customize the updo for a special occasion.
Shaping the Front Section: Framing Your Face
Let’s finish off the look with the front section.
Step 1: Smoothing and Detangling
Brush the front section to make sure it’s smooth. Get rid of any tangles.
Step 2: Choosing a Style
You can style the front section in a couple of ways:
- Create knots using two strands of hair.
- Sweep it up into a soft swoop.
Step 3: Twisting and Knotting (Option 1)

Divide the section into two strands. Twist them together. Then, tie the twisted strands into knots. Secure the knots with bobby pins and hair pins.
Step 4: Sweeping and Shaping (Option 2)
Sweep the hair up and back. Create a soft wave or swoop. Secure it with pins. Shape the hair until you get the look you want.
Final Touches and Styling Tips: Make It Your Own
Now it’s time to add the finishing touches.
Step 1: Completing the Look
Brush out the last section of hair. Smooth it into the overall style.
Step 2: Adding Decorations (Optional)
Again, consider adding hair decorations to make the updo even more special. This style works great for weddings, proms, and other formal events.
Step 3: Creating a Unique Twist
Here’s a fun technique: Twist a long piece of hair. Then, wrap it around the existing style. Secure it with hair pins and bobby pins.
Step 4: Smoothing and Refining
Use your rat tail comb. Smooth out the front and refine the overall shape of the updo.
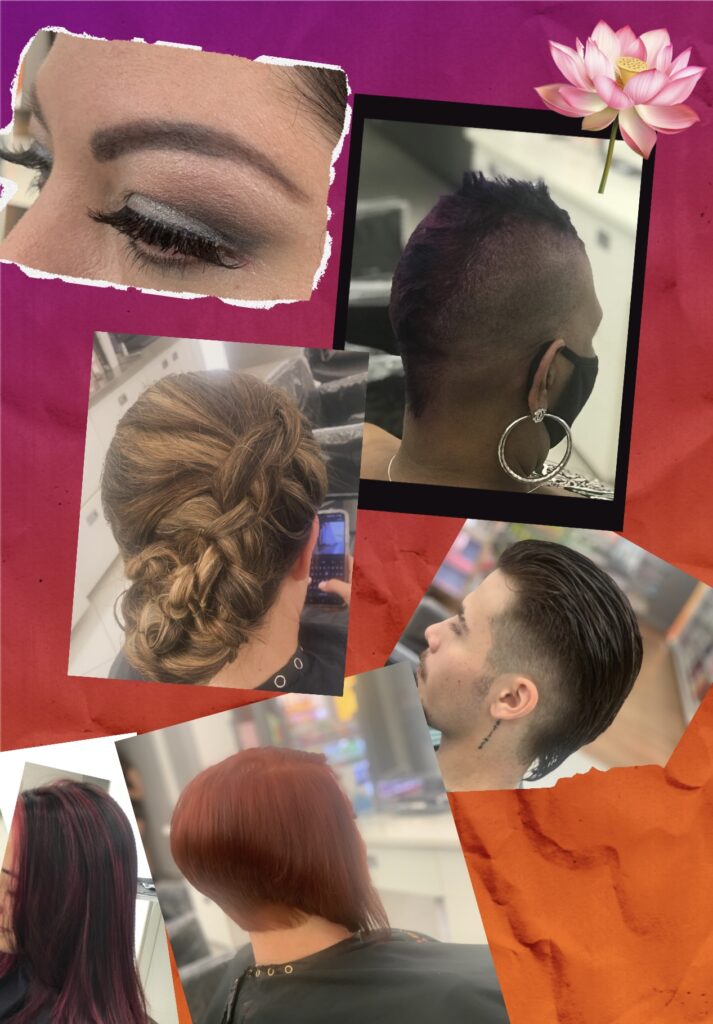
Showcase the Finished Product
Take a look at your creation!
This updo is simple, elegant, and unique. The smooth front and soft side part add to its charm. It’s a versatile style that works for many occasions.
Conclusion
Creating beautiful wedding and prom updo styles doesn’t have to be difficult. These simple steps will allow you can achieve an elegant look. Want to see more? Follow @createdivinity on Instagram for more inspiration. Thanks for following along! Come in to see me for your next color service. You can find me at https://www.ulta.com/stores/williamsburg-va-558.